
As part of this article, we will be doing the Local environment setup on Windows 10 machine for Spring application development.
Table of contents
JDK Installation
We must have the Java Development Kit ( JDK ) installed on our system. Spring 5 will require Java 8 or higher.
Java 8 Download link: https://www.oracle.com/in/java/technologies/javase/javase8-archive-downloads.html
Refer to this article https://shaileshjha.com/step-by-step-how-to-download-and-install-java-se-jdk-8-on-windows-10/
We can confirm if the Java is properly installed using the below command
>> java -version
>> javac -version
Softwares required
Application Server – Tomcat 9
We require a Java application server for deploying the web applications. Ex: Glassfish, Jboss, Tomcat etc.
We will be installing Tomcat
We have to use Tomcat 9 for our Spring 5 applications
Recently Tomcat 10 was released to support Jakarta EE 9 where the package names were updated from javax.* to jakarta.*
Spring 5 does not support the new package renaming Jakarta EE 9 hence we will use Tomcat 9 for Spring 5 applications
Download tomcat https://tomcat.apache.org/download-90.cgi
Select 32-bit/64-bit Windows Service Installer (PGP, sha512)
Double-click on the installer and follow the below snaps

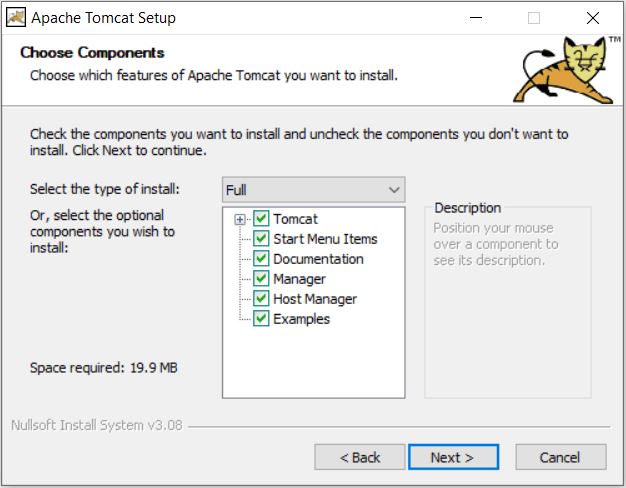
We will select the type of installation as Full because it will provide us with some documentation and examples which we can make use of.
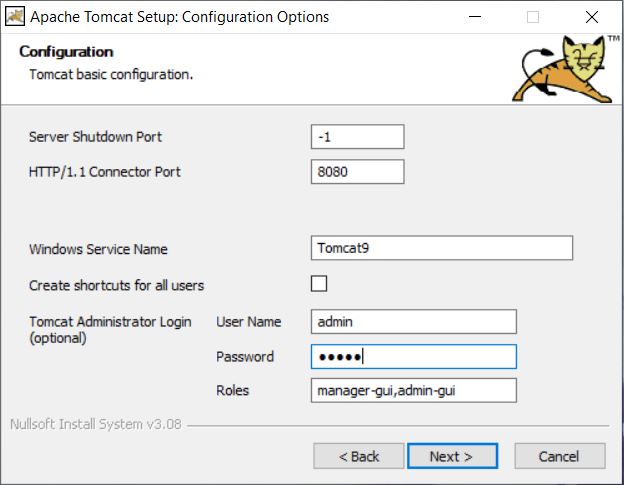
The default port of tomcat is 8080. We can customize it if we want. But we will go with the default port.
Provide a username and password
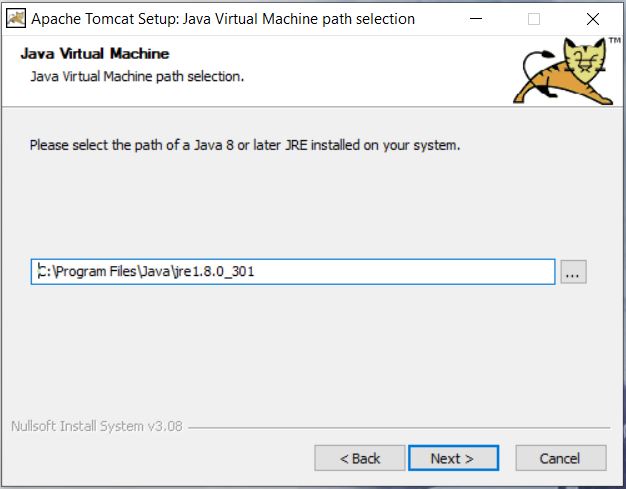
Select the JRE that we have already installed as part of the JDK installation.
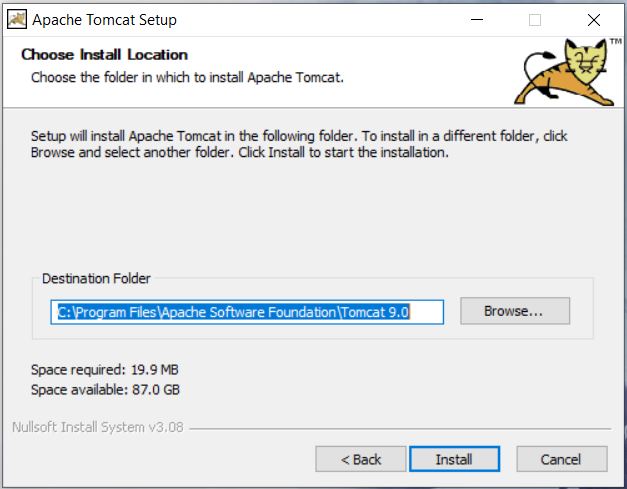
We can choose the default or custom location to install the tomcat. We will go with the default location.
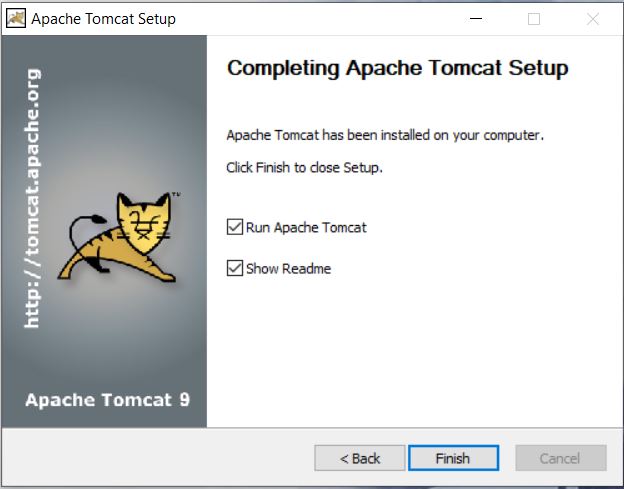
Once installed verify the installation by visiting localhost:8080
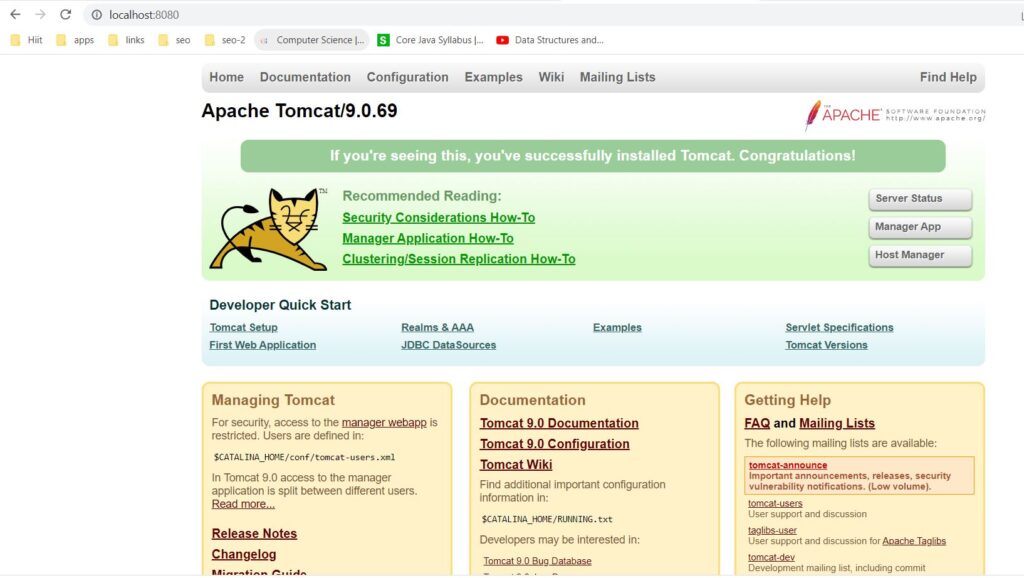
If you’re seeing this, you’ve successfully installed Tomcat. Congratulations!
Java Integrated development environment ( IDE ) – Eclipse
Download Eclipse from https://www.eclipse.org/downloads/packages/
We will be downloading Eclipse IDE for Enterprise Java and Web Developers package.
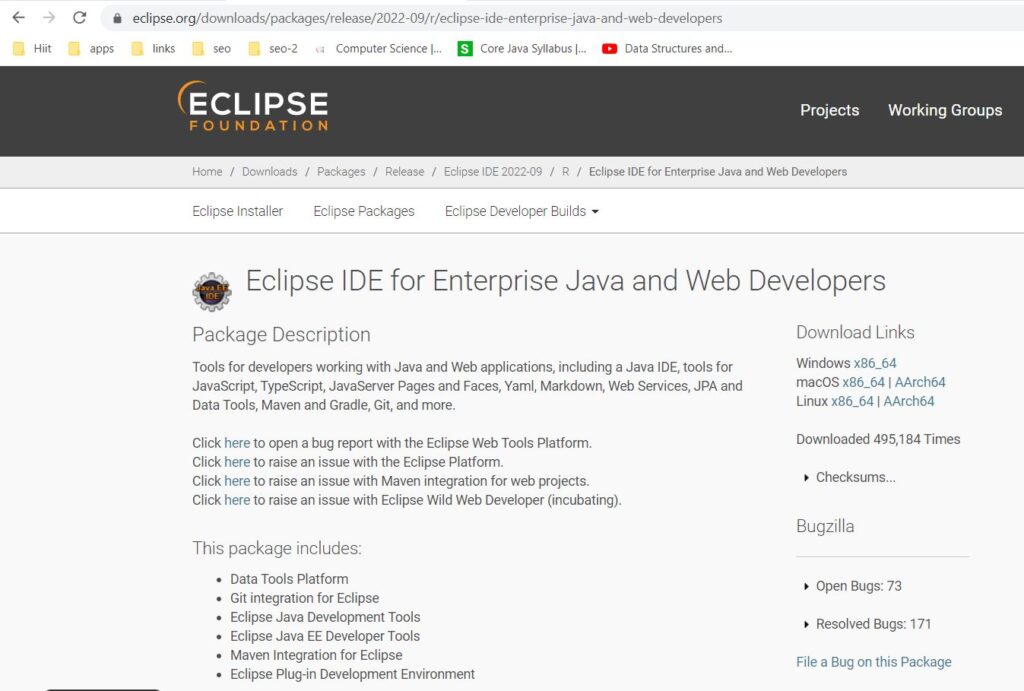
The file size is more than 500 MB so it might take a few minutes to download based on your internet speed
The file will be downloaded as a zip file eclipse-jee-2022-09-R-win32-x86_64.zip
We have to extract this zip file
Once extracted we will see the below files
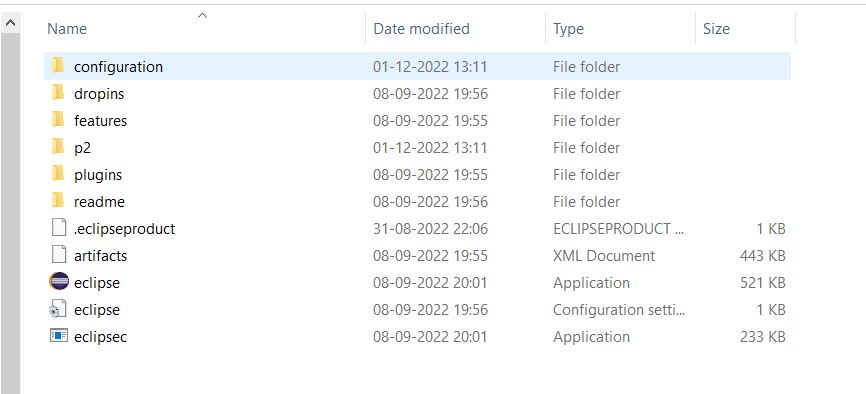
We have to click on the eclipse application icon
The eclipse will start and it will ask for a workspace ( where our projects will be stored )
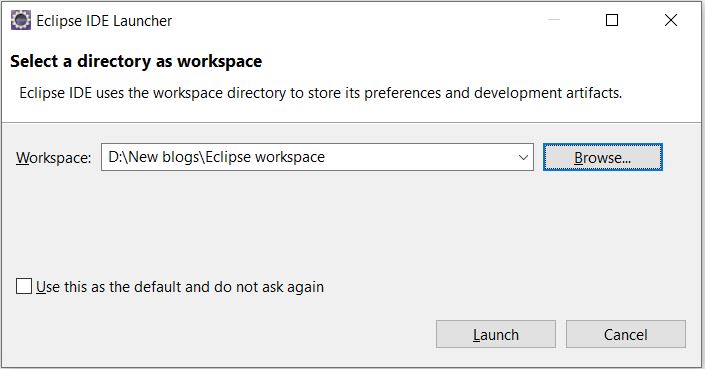
You can give a default location or select any other location on your machine and Launch it
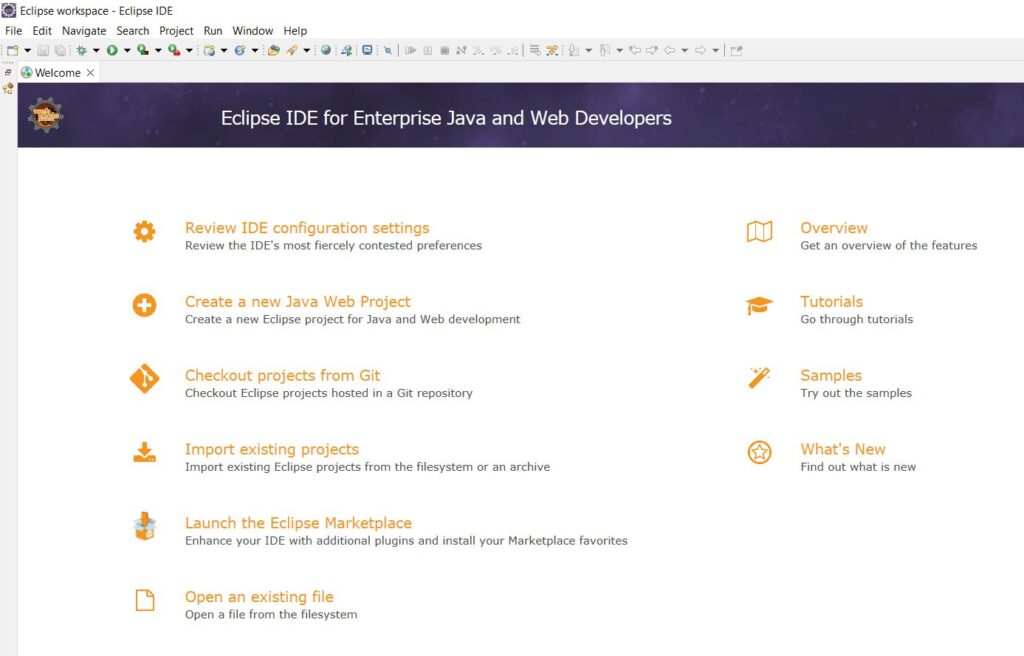
We will see the Welcome screen
Connecting Eclipse and Tomcat
The advantages of connecting eclipse to the tomcat are
- we will be able to start the tomcat from the eclipse
- we will be able to deploy the web applications easily
Below are the steps to connect
At the bottom of Eclipse, we will see the Servers tab
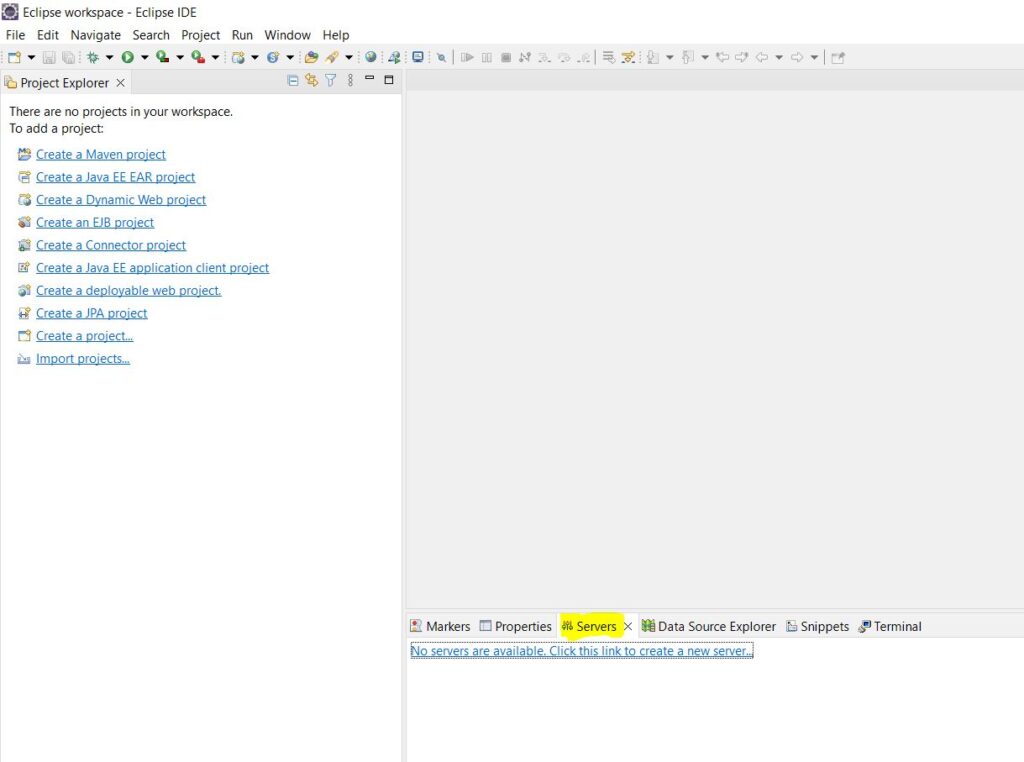
It will display a message like: No servers are available. Click this link to create a new server.
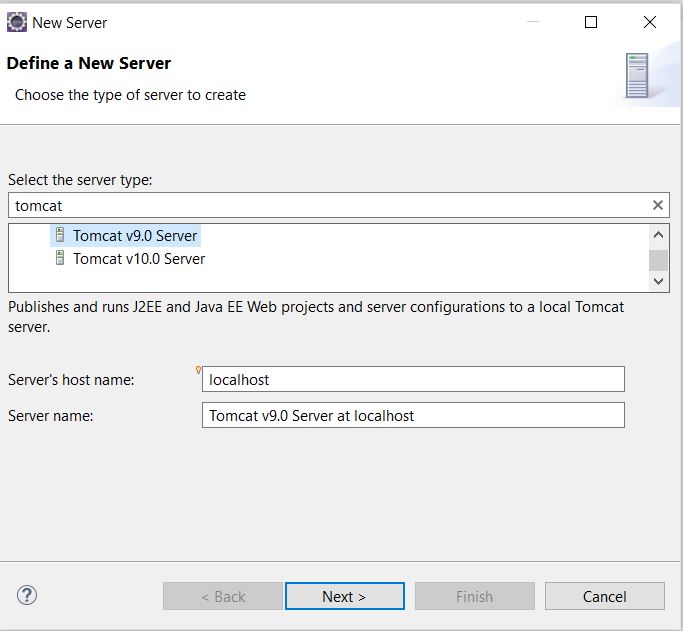
We will click that link. It will navigate us to a new page where we have to Define a new server. We have to select the server type as Tomcat 9.0 and click Next
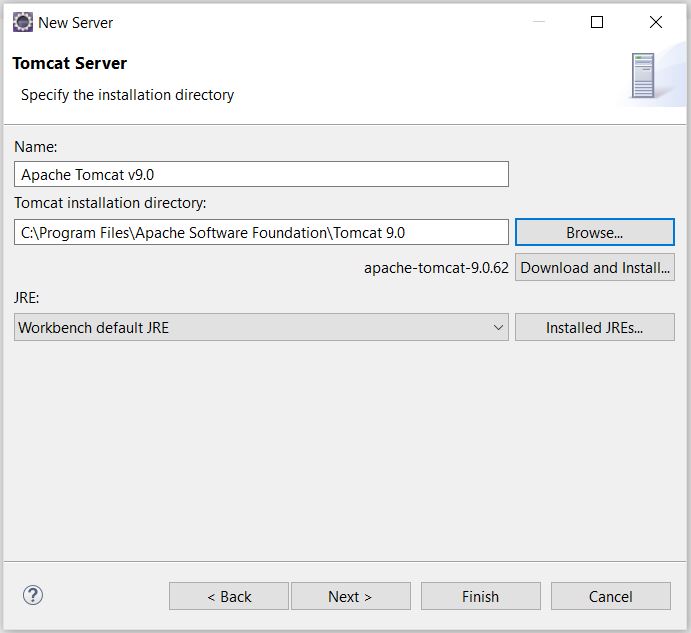
Now we have to specify the tomcat installation directory and Finish
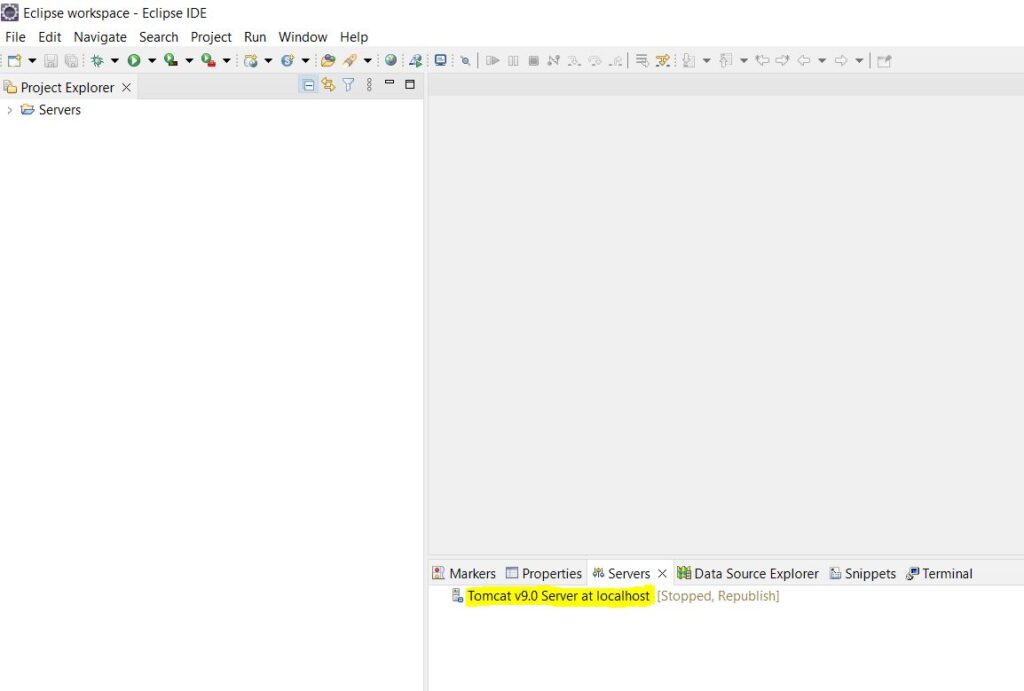
Now we will see a new message in the Servers tab: Tomcat v9.0 Server at localhost. It means the connection is done
Downloading Spring jar files
We can download Spring dependencies using maven but as part of this article, we will not do that. Our main focus is on Spring so we will try to download all the dependencies manually.
We will go to eclipse and change the perspective to Java perspective ( as we will focus first on Spring standalone java applications, not web applications )
Window > Perspective > Open Perspective > Java
We will create a new Java project File > New > Java Project
Provide the project Name > spring-project-one > Finish
The spring-project-one project gets created
Now we will create a new folder named lib inside spring-project-one to store all the Spring dependencies.
Right click on spring-project-one > New > Folder
To download the Spring jar files we will visit https://repo.spring.io/ui/packages
Click on the Artifacts tab and navigate to the Repository path:
libs-release/org/springframework/spring/5.3.9/spring-5.3.9-dist.zip ( This dist file will contain all the Spring related jars )
Click on the Url: https://repo.spring.io/artifactory/libs-release/org/springframework/spring/5.3.9/spring-5.3.9-dist.zip ( It will download the zip file )
Once the file is downloaded we need to unzip it and go to
spring-5.3.9-dist > spring-framework-5.3.9 > libs
We will copy all the jars from the above libs directory and copy them to Eclipse spring-project-one > lib folder
Now we will add these jar files to Java build path
Right-click on spring-project-one > Properties > Java Build Path > Libraries > Add Jars ( Select all the jars in the lib folder ) > Apply and Close
We are done and ready to write our first Spring application.
I hope you found this article interesting and valuable. If you are having any concerns or questions about this article please comment below.